Friday, April 29, 2011

How to make a Patchwork Baby Quilt: Part One

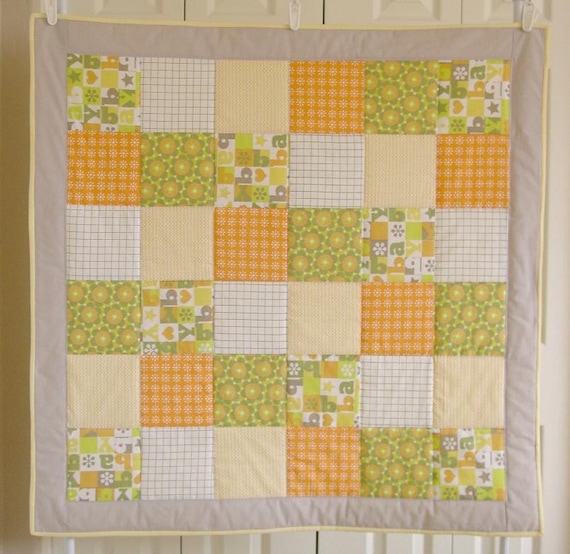
I'm nearly finished the patchwork quilt that I am making for my friend's baby shower this weekend. I have never quilted before, and never made a patchwork, even though I had good intentions a few months ago. But I thoroughly enjoyed making it, and not being a quilter, I thought I would write a little how-to for other people who may think that patchwork is beyond them, or that it will take an age. It isn't, and it doesn't!

I don't have a fancy sewing machine, or a special rotary cutter, or a mat with measurements for lining up squares. None of that! I made up my instructions as I went along. Easy. So here we go!

First, decide on your measurements. I wanted a quilt suitable for the pram, car seat, or the floor, not a cot size (which is considerably bigger). I ended up with the strange measurement of 90cm x 66cm (a result of the width of the batting... see below).
You will need:
  • Scissors
  • Pins (a lot)
  • Needle and thread
  • Pencil
  • Ruler
  • 70cm of backing fabric
  • 20cm of border fabric
  • 20cm each of 4 different pattern fabrics
  • 3.5 metres of 3cm wide bias binding
  • ?cm of Batting (the warm middle filler). There are a million different widths and varieties available. I chose one that was 100% needled cotton, which means it won't bunch up in the wash. The amount you buy needs to be big enough to cut your quilt size, obviously, but I bought enough for two layers as I wanted it to be snuggly for winter.

Now, to choose your fabrics. I had a few restrictions, because it is a quilt for an as yet unborn child, and I don't know if it is a boy or a girl. So neutral colours were the go. I also decided to use 100% cotton fabrics only. I chose a white with a bunny pattern, a mint greeny-blue polka dot, a lemon and white abstract pattern, and a flocked white spot. I chose a lemon yellow homespun for the border, and white homespun for the back, with white bias binding for the edge.

Next, draw your pattern. Don't be afraid - this is simply a rough sketch so you can work out your measurements and colour placement. Behold, the technical drawing:


I worked out that for a 90 x 66 quilt, I would do 8cm squares. 7 columns and 10 rows, plus a 5cm border. Then I coloured the squares in to make sure that they looked ok, and to work out how many to cut. I needed 19 bunnies, 19 white spots, 16 blue dots and 16 lemon patterns.

*Important: at this point, before you start drawing your squares, work out your seam allowances. I decided to do 5mm for two reasons: it is the width of my sewing machine foot, and it also made it a round 1cm to add to my 8cm squares, making them 9cm cut.

Wash and tumble dry your fabrics to pre-shrink them (nothing worse than a puckering quilt after the first wash). Then give them a good press and rule the grid squares on the wrong side of the fabric, using a square ruler and a pencil. Cut them out. This part needs to be done with high precision, otherwise you will be kicking yourself later when your squares don't line up and your quilt top is too small for the batting.

On the batting, lay out your squares in your decided pattern.

At this point I had a bit of a dilemma. The minty blue green was actually just blue.

I tried turning it wrong side up, I cursed Spotlight for their misleading neon lights, I phoned my Mum to ask her opinion, but there was no escaping the fact that it was Blue. And since blue is not a neutral colour, I scrapped it and bought a little lemon yellow polka dot instead. Happy days.

After all this work, I set the quilt aside for a day or so because I needed a little break. So I will leave the post here for now, but stay tuned for Part Two, where we will sew, pin, iron, and sew some more until we are FINISHED!

Monday, April 25, 2011

Hello again... and some ideas

Hello! I have been missing in action for such a long time! I have been overseas with my work, and I have also been busy planning my wedding.

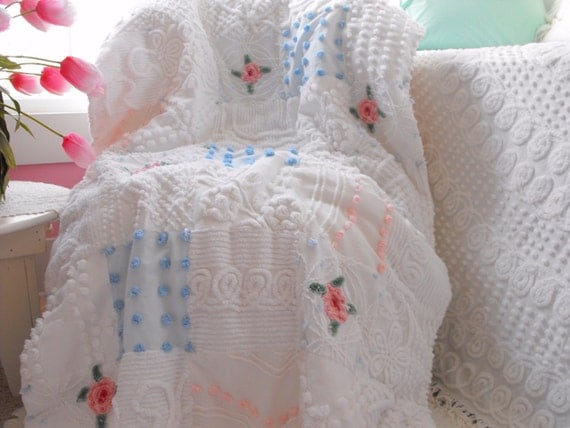
But it's time to get back into the swing of things. I have a very dear friend who is having a baby in July, and next weekend is her baby shower. I am thinking of making her a quilt for the cot or the floor, and because she doesn't know if it's a boy or a girl, I am going to do it in all white fabrics with different textures and patterns.

I went searching for some inspiration and found these lovelies:

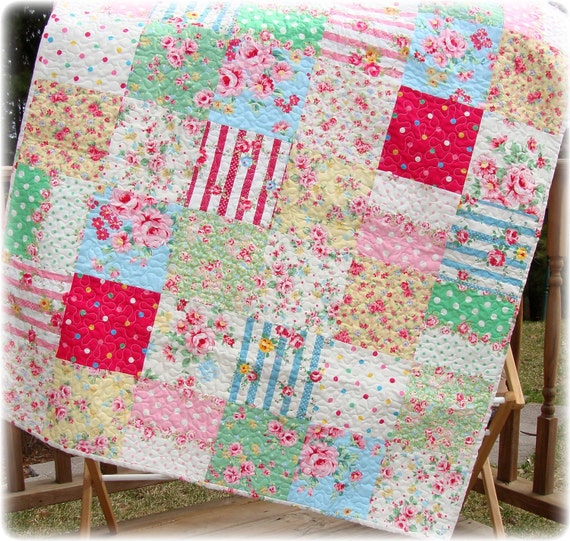
This gorgeous girly quilt is from Quiltville. I love the simple square design which makes the fabric the feature. I also like the wavy stitching to hold the batting in place.

This sweet one from The Pink Palace is the kind of texture variation I have in mind:


And this lovely simple quilt from Sweetiebug is a great example of using neutral colours to make it safe to use for a boy or a girl! I also like the border around the edge, the bias finish is great.


Now to the fun part: going to the fabric shop. I'll keep you updated with my progress.

Meanwhile, thanks to you all for sticking around and I'm sorry for my long absence! I promise I'll make it up to you... and if I seem vacant, I'll be over at Another Ring Coming musing about all things bridal.

Monday, January 17, 2011

A cutie for the new year


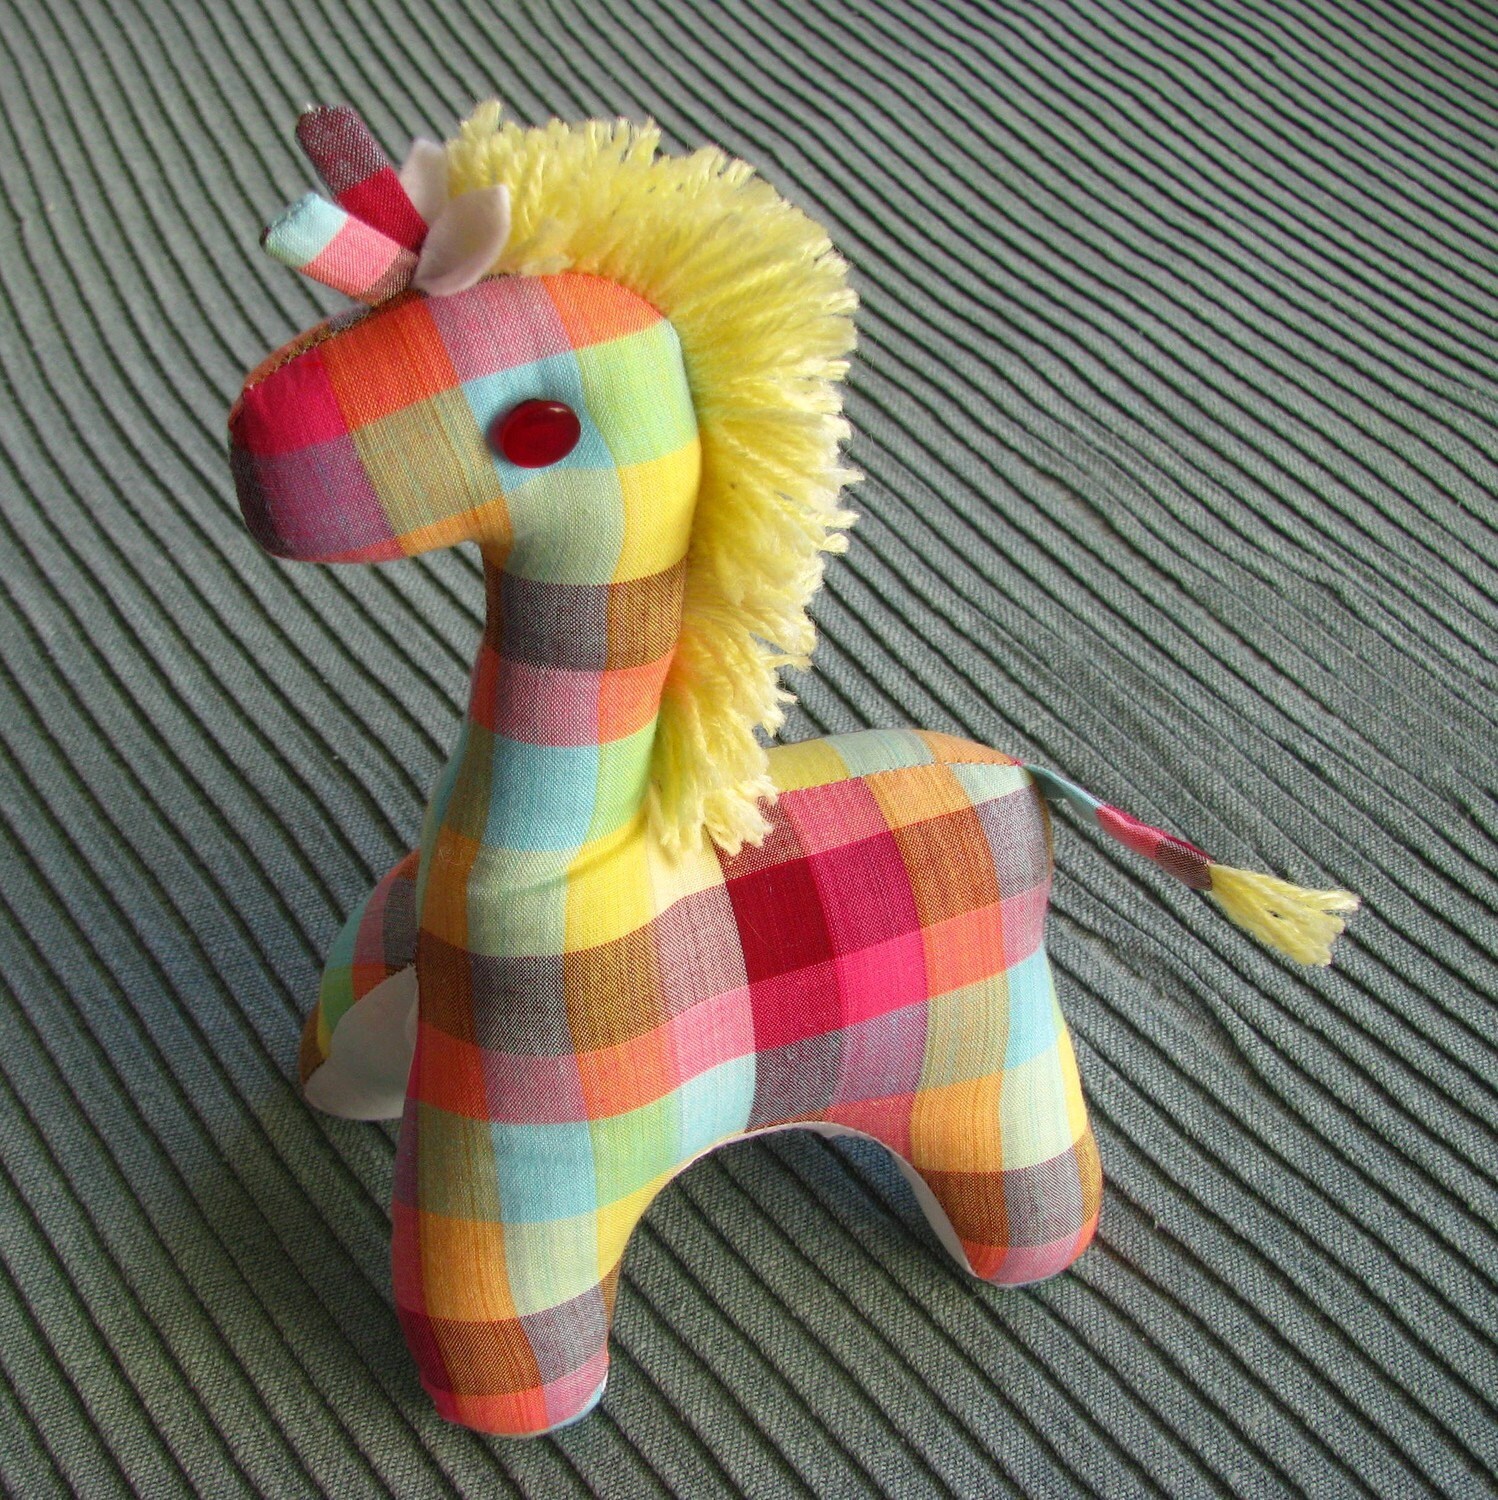
... just thought I would show you my first creation of the year. Georgie giraffe. Available here.

Monday, January 3, 2011

A feast to bring in 2011

Good day! How are you liking 2011 so far? I think it is quite good. Back to work tomorrow so my views may change, however, for now, I thought I would share my NYE feast.

You may recall the menu. Well, I started to prepare in the morning, making our desserts which were both cold. The chocolate mousse was first. Straight into the fridge!


Then, I made the Green Apple Granita. It was such a simple recipe. I don't have an icecream maker, so I simply froze the mixture in icecube trays and then whizzed them with my hand-held kitchen whizz. Here are the apples simmering in the sugar and juice.

Cold things done, I started on the first dish on the menu, the Tomato Soup. I made it from a recipe in the book Movida Rustica, a Spanish cookbook from the Melbourne restaurant. J's Dad gave it to me for Christmas last year. The soup needed to simmer for quite a while on the stove so I got it going early. Please note my blatant exhibitionism of my new kitchen spoons from Beehive Kitchenware!


Soup done, it was time for little things. Making the sauce for the fish dish, cooking the buttery leeks (another recipe from Movida Rustica), getting out all the plates for the different dishes. Here is Jon preparing his ceviche, with all our plates ready for action.

Then, after a brief pause for some sustenance, we tackled the trickiest part of the day: deboning a spatchcock for the ballotine. A ballotine is simply a fancy French word for a roll of deboned, stuffed meat. We watched this absolutely awesome and amazing video tutorial with Jacques Pepin, and it was actually really fun! Once deboned, I stuffed the spatchcock with a carrot poached in stock, chives, and bacon. Here I am wrapping it tightly in clingwrap, ready for poaching!

So! Into the fridge for the ballotine, and it was time to set the table and chill the wine. This photo shows our sashimi course, which I bought from the fantastic Claudios at the Sydney Fish Market.

I must apologise: from here on in, we were enjoying the meal so much that the photos are few and far between. We did snap a quick one of the vegetable course. Yummo vinagered carrots and the smooth and buttery leeks, and fresh radish.

I have to say that I am quite sad that by far the best course of the night - the Pan Seared Snapper with Corn Puree, Roasted Shallots, Chorizo and Basil - does not have any pictures. It looked and tasted absolutely amazing. I highly recommend you try it if you are looking for a fish dish to impress!

The spatchcock ballotine was absolutely delicious also - even though the preparation was a bit of a disaster. After feeling super proud about deboning and rolling so well, my cling-wrapped friend burst in the simmering water, and so poached without his covering. I thought that would be the end of the flavour, but we fished him out, and pan fried him to finish off the cooking. He was totally fine - and ended up looking very much like my inspiration photograph from Not Quite Nigella's dining experience at Astral restaurant.

After the ballotine came the delicious eye fillet with mash and artichokes, and then, after a brief sojourn to see the fireworks down the road, we came home to enjoy our granita and chocolate mousse in the New Year. And then, an epic washing up session later, there we were in 2011!

How did you spend your New Year? Any cooking adventures planned for 2011?

Friday, December 31, 2010

Last post for 2010!

Well, it's about that time. Only a few hours left until we start a New Year. What are you doing to celebrate? J and I thought we would keep it quiet this year, and are cooking a fancy degustation dinner at home. I have been preparing food since yesterday, and I am excited to sit down to dine tonight! Here is the menu:


Doesn't it sound delicious! I can't wait to eat it. The first post of next year will have some pictures and recipes.

Have a lovely New Year everyone, and a joyful 2011.

Monday, December 27, 2010

Cake Stands


As you might know, I am getting married in December next year. I have been tracking down some old cake stands to use for my desserts at the reception. Aren't they so pretty? If you want to know more about my inspiration (and other wedding stuff), head over to AnotherRingComing to read all about my cake ideas!

Thursday, December 23, 2010

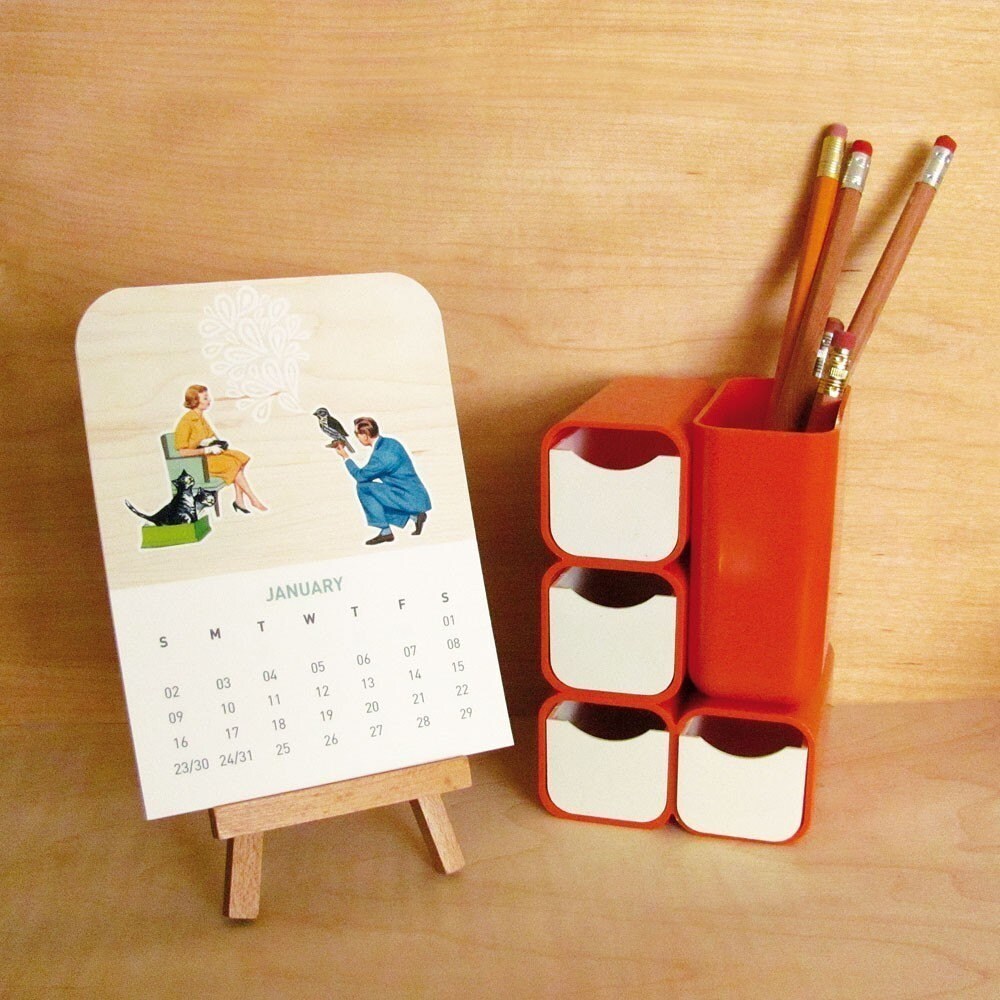
An new calendar for a New Year


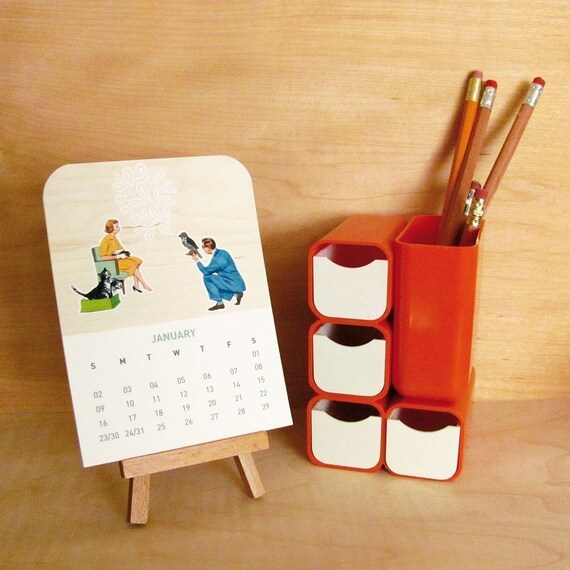
2011 is almost upon us. One of the things I always enjoy doing this time of year is searching for the perfect calendar to accompany me throughout the coming year! This year, it's this little lovely from Cabin + Cub. Sweet, huh?